When parts arrive, the first urge is often this: print the case, plug everything in, and treat the robot as finished. In the workshop that bill comes due. Hours go into 3D printing while the code still cannot read distance correctly; then a cable will not fit, a hole is wrong, and a part has to be recut.
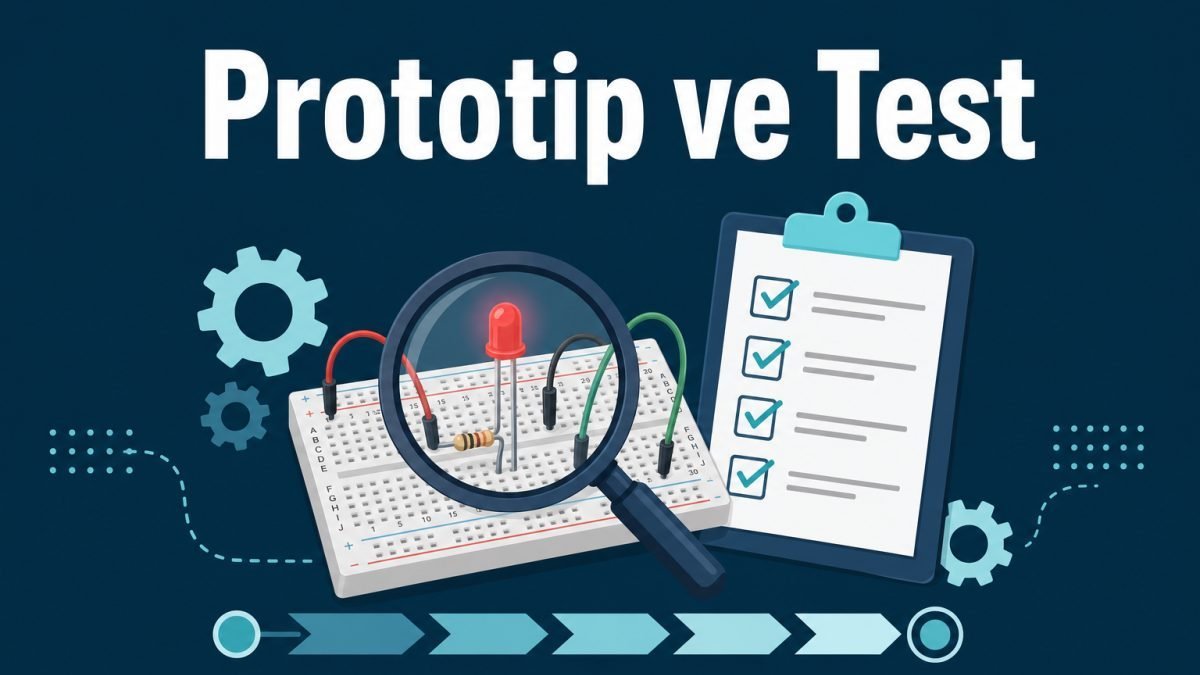
This article is part five of our Project and Contest Guide series. It explains what a prototype is, how to test, and why you keep a record — with examples we see in the workshop. The goal is not to finish fast. It is to build a system that works, can be measured, and can be repeated.
A first try is not expected to work perfectly. A prototype exists to prove the idea and catch errors early. A failed run is not wasted; it produces a concrete fact about a pin, a threshold, polarity, or mechanics. If that fact is not written down, you will hunt the same error again the next day.
What is a prototype?
A prototype is the simplest working form of an idea. The painted case on contest day is not the prototype; that is the packed version of a design that already passed tests. A distance sensor printing centimetres on the Serial Monitor on a breadboard is already a prototype. The point is not looks. The point is a numeric answer to this question: does this part actually do the job?
Grow the function in steps:
- Sensor alone: Right pin, right library, a sensible value range. If an HC-SR04 always prints 0 or 4000, the wiring or timing is wrong.
- Decision: A threshold. If distance is under 10 cm, should a warning fire?
- Output: Does the LED, buzzer, or motor react in the expected way?
- Repeat: Run the same test at least 10 times. 10/10 is not the same as 3/10. A contest has several official runs; one lucky video is not enough.
- Field readiness: Case, battery, cable strain relief. These come after the function is stable.
The test log
| Date | What was tested? | Expected | What happened | Result / next step |
|---|---|---|---|---|
| 12.03 | Distance < 10 cm | Buzzer sounds | Silent | Wrong pin number |
| 13.03 | Same test | Sound | It sounded | Try threshold 8 cm |
When the jury asks how many times you tried and what you changed, this table is the answer. Memory is not enough. A week later nobody remembers which pin was wrong. Write the success rate too: if 8 of 10 runs held, record that clearly.
Common workshop mistakes
1. Printing the case before the function works
Money and time go into 3D printing while the code is still unstable. Then a joint will not fit, a hole is wrong, and a part is recut.
Function first, box second.
2. Trusting a single working video
It worked once and you filmed it. At the contest four of five runs failed. A lucky lap is not a reliable system.
Repeat the same test. Write the rate.
3. Changing many things at once
You changed the code and the mechanics in the same session. Nobody knows which change helped.
Change one variable at a time: pin, or threshold, or mount. Then test again.
4. Skipping the basic checks
Two days of rewriting code because an LED is dark is common. The real cause may be reversed polarity, a missing resistor, or a broken GND.
Check pin, resistor, polarity, and common ground first. The site Error Bank records speed up these checks.
5. Unsafe testing
A hand near a spinning motor, short-circuit risk, first power with wheels on the floor.
Safety is part of the test protocol. First run: limited power, clear space, a known emergency cut-off.
A short note for parents: If tests happen at home, set a separate tidy table. Ask what they learned today instead of pressing why it does not work. A failed run is still part of the work.
Short questions you can ask yourself
- Which question does the current prototype answer?
- What was the numeric result of the last test? (example: 7 of 10 runs held)
- What is the next smallest improvement?
- Can I do this ten times in a row?
What is next?
In the next part we will cover report, poster, and video.
Do not grow the case before you test. Small step, measurable result, written record.